


CRUD Application Using Node JS - Part 2 : Kickstarting the NodeJS server and connecting to MongoDB database.


This article is the second part of the series Getting hands dirty with NodeJS - CRUD REST API using Node | Express | MongoDB and you can find the previous article where I showed Introduction on tools, problem statement and configuration .
Today in this section, I am going to be covering the basic aspects of starting a Node server and connecting with MongoDB database. So, follow along with me.
Starting a Node JS server
For example, we need to run our application in port number 9000 of localhost, i.e., http://localhost:9000. If we try to hit that now, we will get an error page in chrome because we did not started it yet! So first, we will write the BOILER PLATE code of node that is responsible to make the server up in our desired port.
This process involves several small steps like importing modules, connecting to database, starting mongoose etc. Lets understand each of them individually.
Importing
Head over to app.js file that we have created in our previous article and write these two commands on top:
const express = require('express')
const mongoose = require('mongoose')
Simply saying, we are importing express and mongoose to our application. Express is a framework that provides some built-in functionalities like to start a http server. Ang Mongoose is to establish a connection to our MongoDB database.
Now simply initialize express.
const app = express()
MongoDB connection
I hope you have already installed MongoDB in your machine and given the path in environment variables. If not, I am not going to cover all that in this article as its simply a googling away. For testing, you can run mongod and verify if its installed correctly or not.
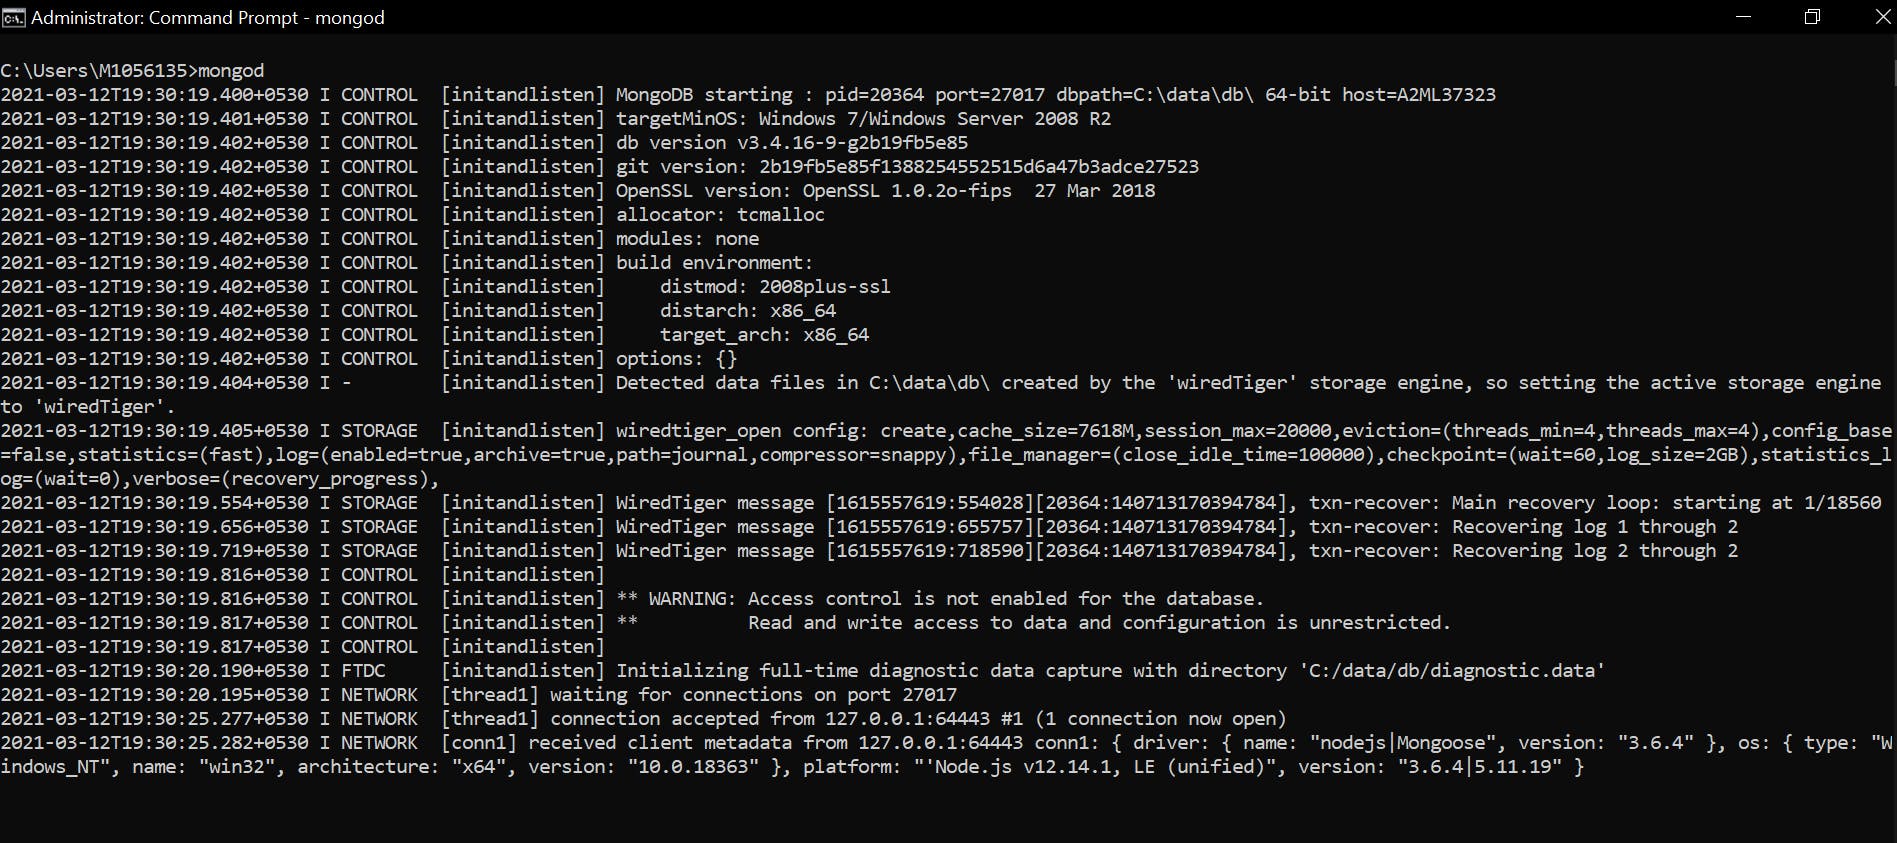
Next is find out the dbpath from the console. In my case it is dbpath=C:\data\db\. You can find this in the first line after you ran that command.
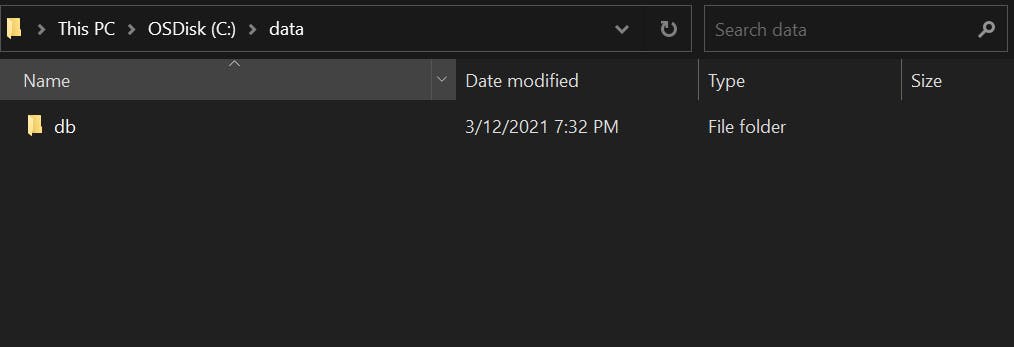
Now go ahead and create the exact folder in C drive.
Coming to the code, add the following lines to app.js
const url = 'mongodb://localhost/ProgrammerDB'

mongoose.connect(url)
const con = mongoose.connection

con.on('open', ()=>{
    console.log('Connection Established');
})
The database name is considered as ProgrammerDB. And to connect our application to specified database url, we can use mongoose.connect(url).
Now we need to know if the connection is established or not. To know that we will use .on method as shown in above code.
Now, simply we need to start mongodb using mongod command in one terminal and run our app.js file in another terminal window using the command npm start As soon as you do that you can see something like this:
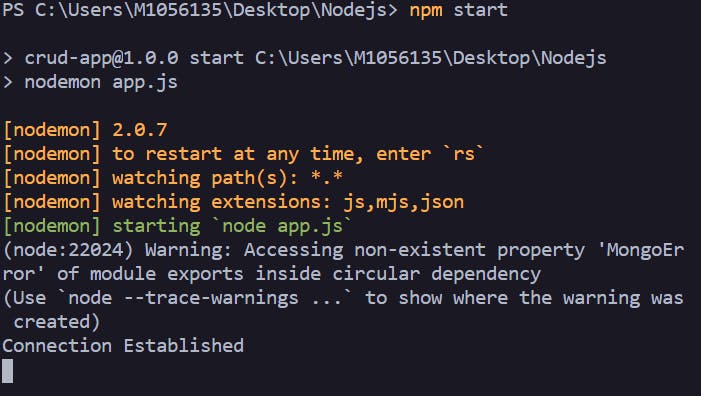
You can see the statement Connection Established. That's what we wanted. We have successfully connected with the MongoDB database.
Starting a server
In order to start a server we need to use app variable which we have used before to initiate express(). And express module provides that functionality.
app.listen('9000', ()=>{
    console.log('Server Started')
})
Where the first parameter is the port we need to run the application in.
If you put everything at one place, this is how the code will look like:
const express = require('express')
const mongoose = require('mongoose')

const app = express()

const url = 'mongodb://localhost/ProgrammerDB'

mongoose.connect(url, {useNewUrlParser:true})
const con = mongoose.connection

con.on('open', ()=>{
    console.log('Connection Established');
})

app.listen('9000', ()=>{
    console.log('Server Started')
})