


Introduction to Progressive Web Applications (Angular), a Practical Approach| Part-2


Ok. So we had enough knowledge about all the boring theory of what Progressive Web Apps are and what are the technical components involved in it, in the first part of this tutorial. You can find that article here .
In this article, we will go through actual implementation of how to configure a basic angular application to convert it into a PWA.
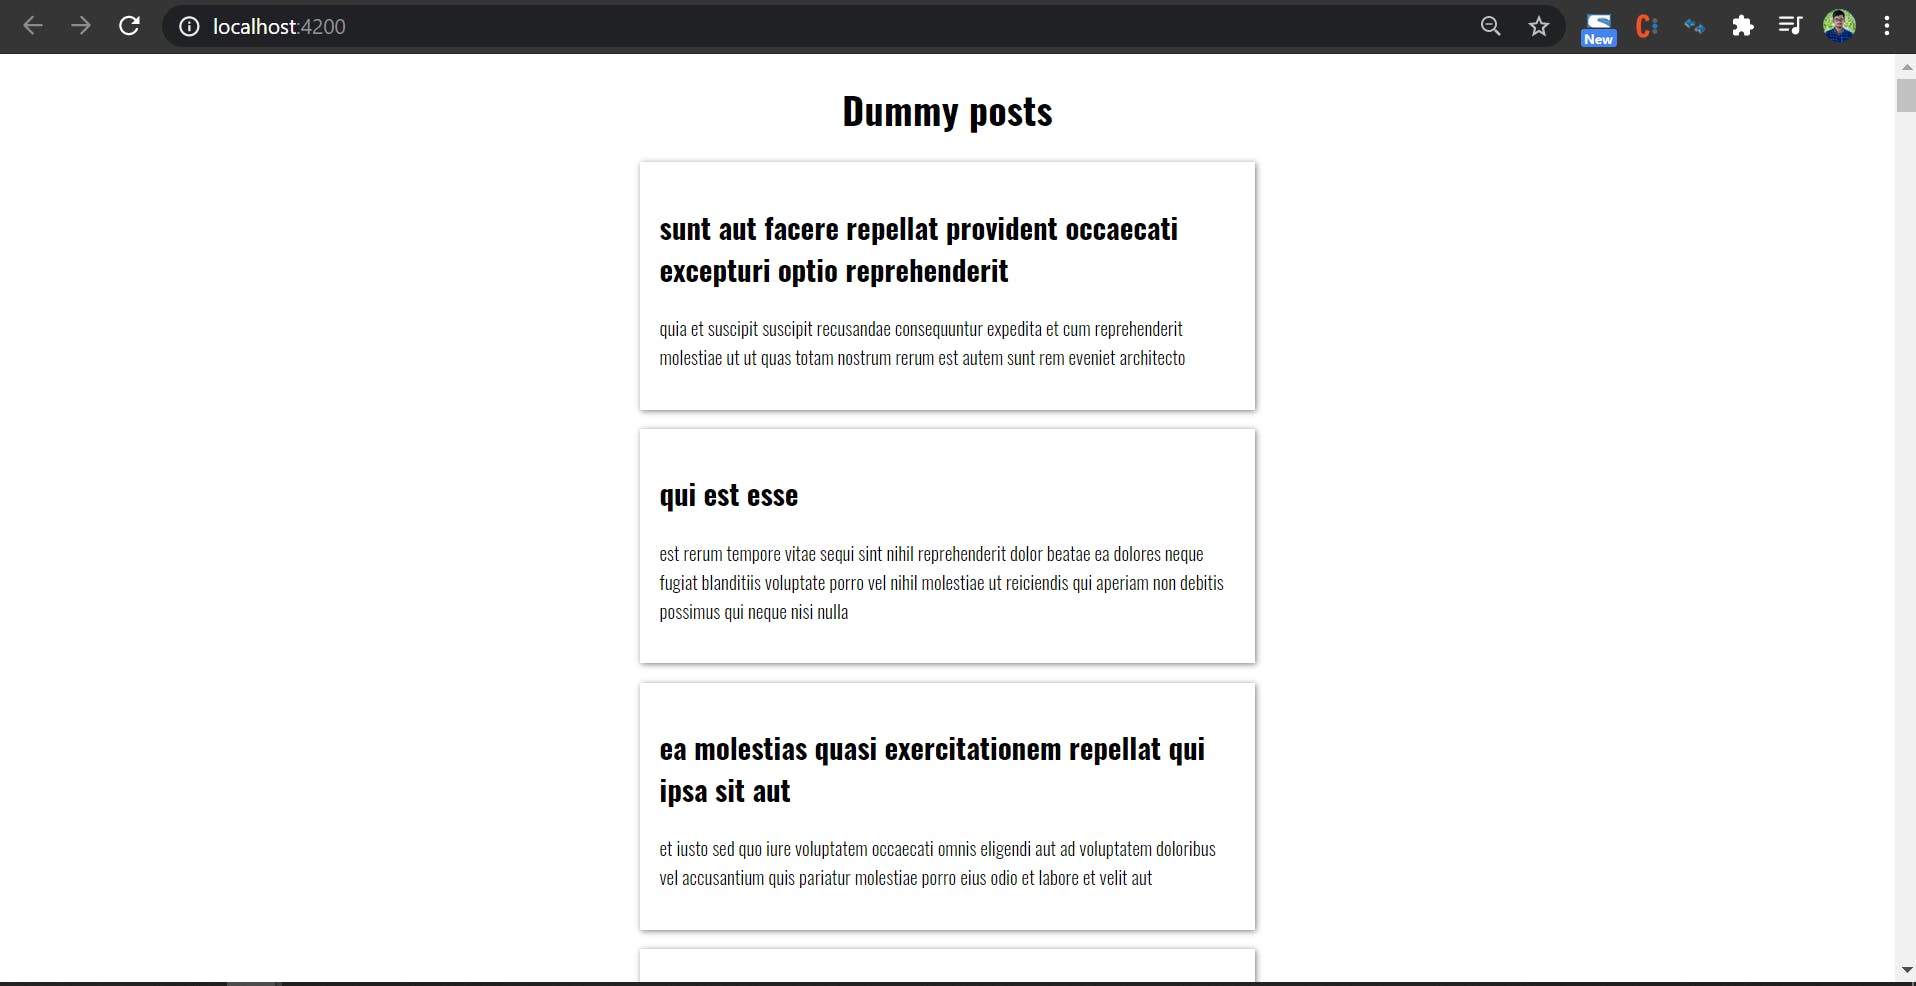
To start with, I have created a basic 2 component Angular application, which will consume data from JsonPlaceholder fake API service. TL;DR; the functionality of the application is to display list of posts of which the data is coming from the API. The page will look like this.
API
For this tutorial, we are getting posts data from
this.http
      .get<Post[]>('https://jsonplaceholder.typicode.com/posts')
      .subscribe(fetchedPosts => (this.posts = fetchedPosts));
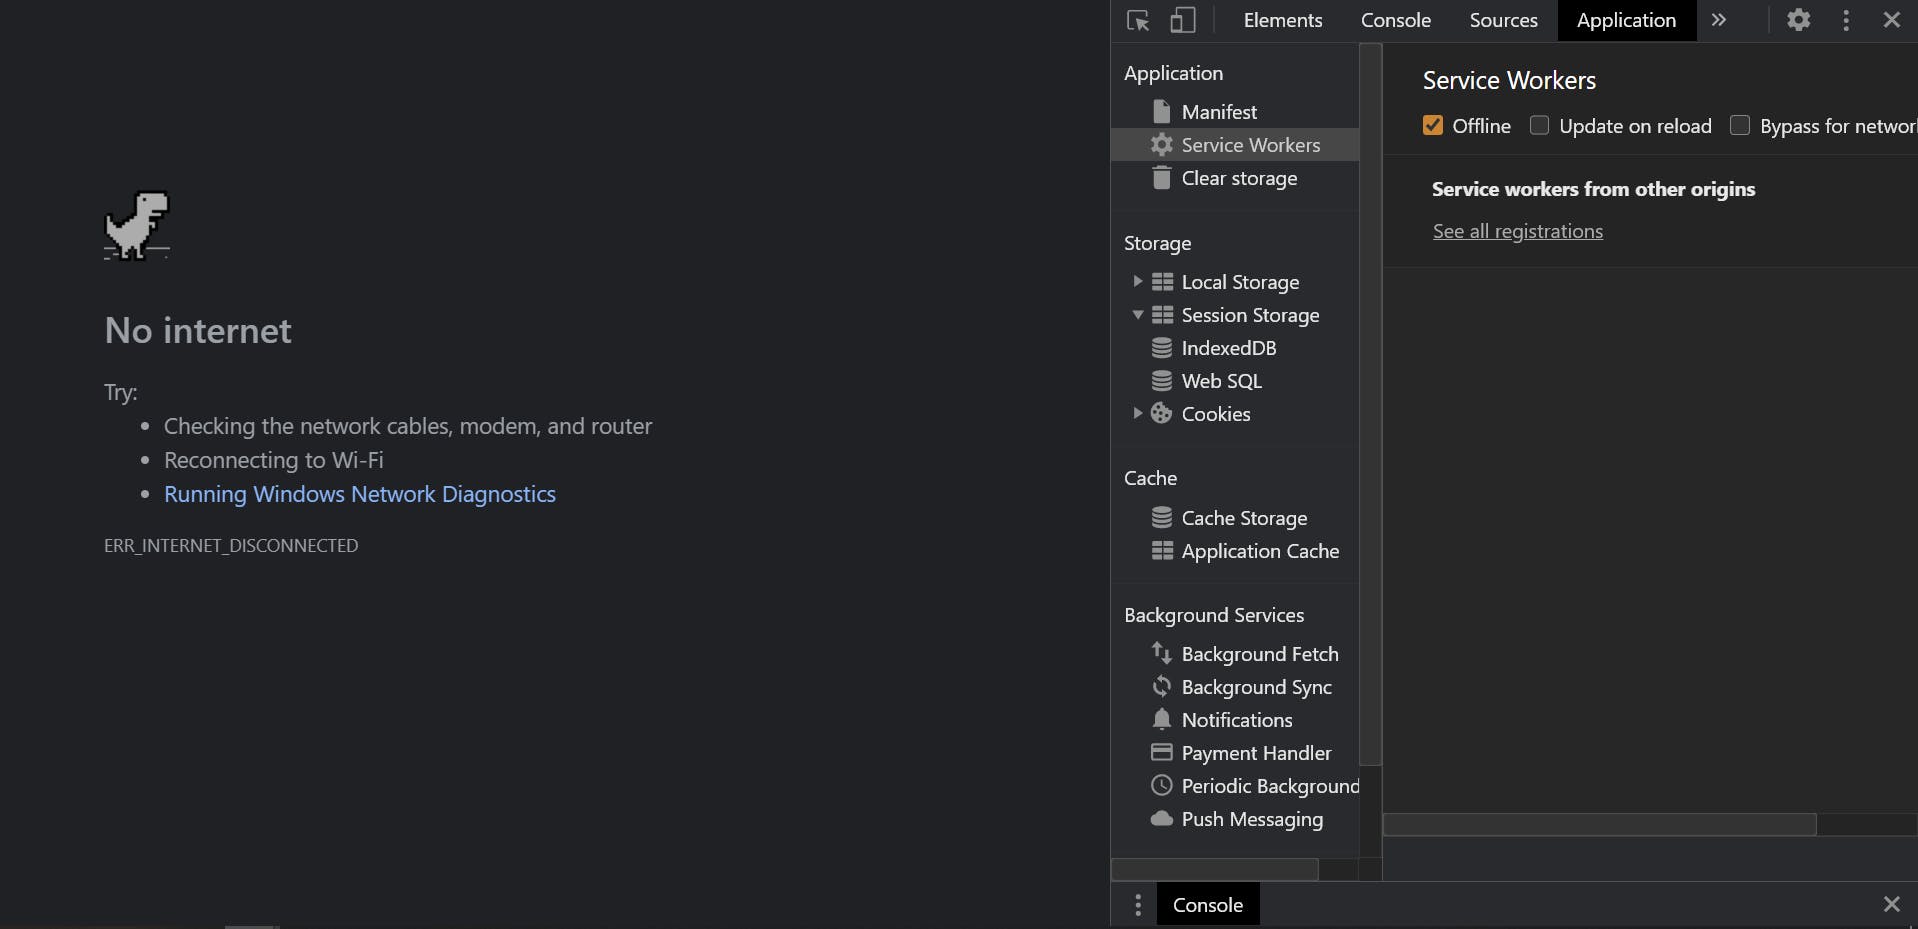
Before configuring the files required files for making it to a Progressive Web App, lets just take a look at how the application behaves if we go offline. We can simulate by simply turning off network connection, but here we will do it in a logical way, i.e., Go to Chrome Developer Tools (f12) -> Application Tab -> Service Workers -> Offline.
If we do that, the application will show No Internet error page with a good old dragon game!
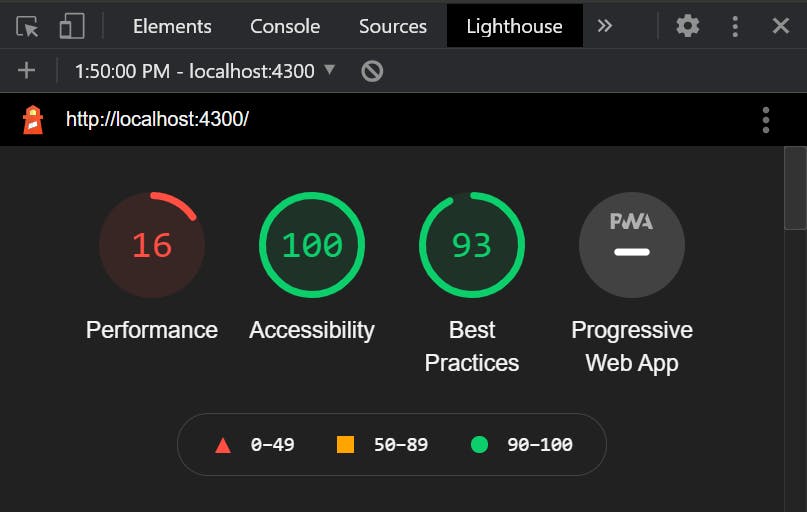
And here is the Google Lighthouse report for our application before installing a service worker (or making it a PWA).
So, now, lets dive into knowing how we can convert our present application into a PWA.
Step One
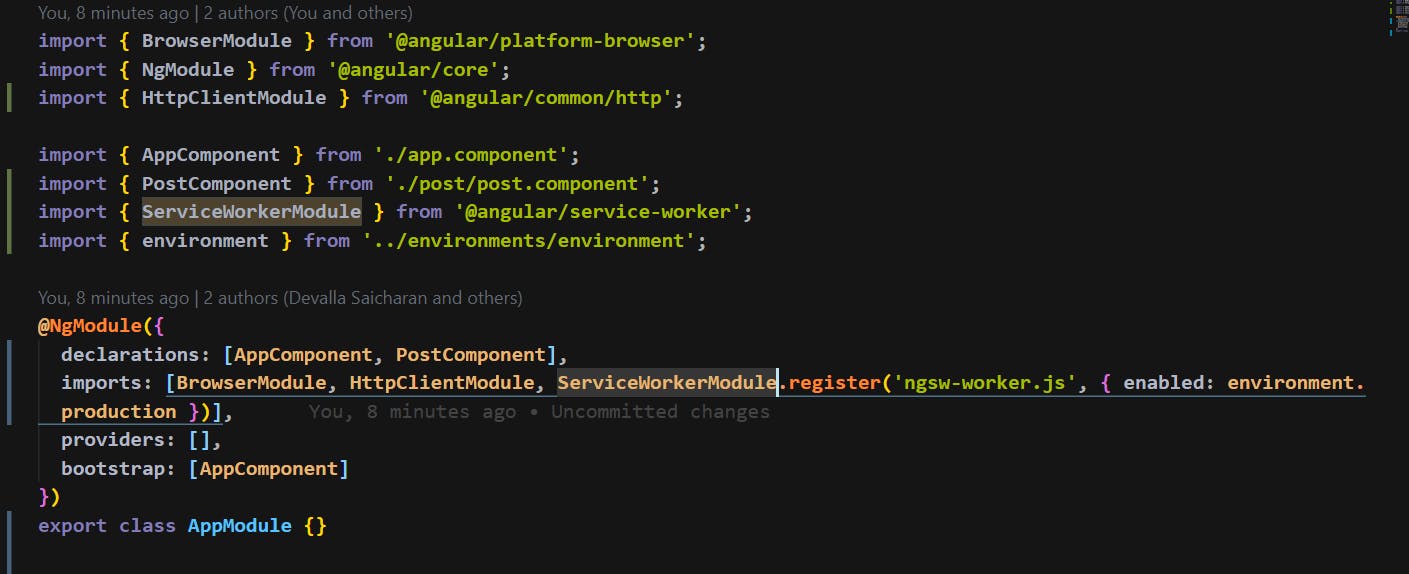
The very first step in converting the application to a PWA is to add a package called @angular/pwa.
ng add @angular/pwa
After running the above command, you can see the ServiceWorkerModule is being imported in the app.module.ts file.
And also a file named ngsw-config.json (Service Worker) is created. Now, this is where all our configuration will sit in.
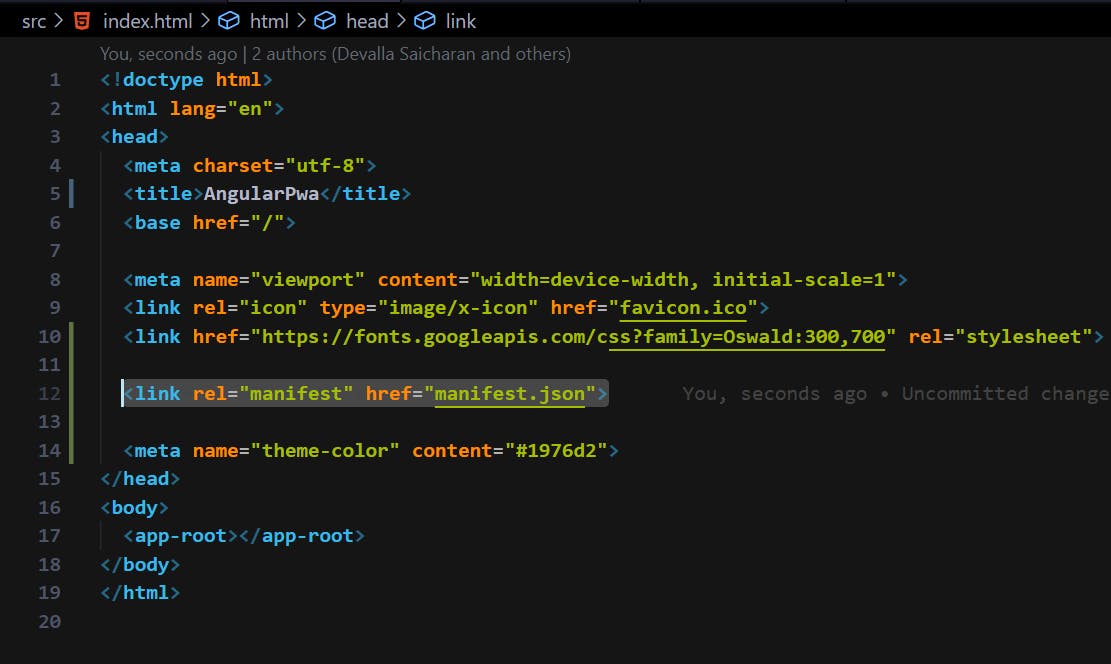
Along with this, manifest.json file is also created, where we have some information about our PWA. It will also be linked in the index.html file.
Step Two
Now we will understand how to configure previously generated ngsw-worker.json file. This file has the following contents.
ngsw-worker.json
{
  "index": "/index.html",
  "assetGroups": [
    {
      "name": "app",
      "installMode": "prefetch",
      "resources": {
        "files": [
          "/favicon.ico",
          "/index.html",
          "/*.css",
          "/*.js"
        ],
        "urls": [
          "https://fonts.googleapis.com/css?family=Oswald:300,700",
          "https://fonts.gstatic.com/**"
        ]
      }
    },
    {
      "name": "assets",
      "installMode": "lazy",
      "updateMode": "prefetch",
      "resources": {
        "files": [
          "/assets/**"
        ]
      }
    }
  ],
  "dataGroups": [
    {
      "name": "posts",
      "urls": [
        "https://jsonplaceholder.typicode.com/posts"
      ],
      "cacheConfig": {
        "maxSize": 5,
        "maxAge": "6h",
        "timeout": "10s",
        "strategy": "freshness"
      }
    }
  ]
}
I will explain each part of it.
index
Our root file.
assetGroups: array
assetGroups is the configuration that define which static assets should be cached and how it should be cashed. Remember this is only for static assets like html files, css files, any static content in web pages.
In our case, we have two objects in that array. One is with the name app
{
      "name": "app",
      "installMode": "prefetch",
      "resources": {
        "files": [        //*static files that we need to cache*
          "/favicon.ico",
          "/index.html",
          "/*.css",
          "/*.js"
        ],
        "urls": [        //*static urls that we need to cache*
          "https://fonts.googleapis.com/css?family=Oswald:300,700",
          "https://fonts.gstatic.com/**"
        ]
      }
    },
And another one is with name assets, in which we are cache-ing everything in the /assets folder.
{
      "name": "assets",
      "installMode": "lazy",
      "updateMode": "prefetch",
      "resources": {
        "files": [
          "/assets/**"
        ]
      }
    }
installMode
Its specifies should these assets be loaded. Prefetch means service worker will cache all these files beforehand even if we don’t needed them. There is another kind which is lazy, which will cache that file only when it was opened, on load.
So we have written configuration for static assets, but what about dynamic assets? Like API calls. We have an API call in our application that is not been cached yet.
So in order to cache the Dynamic Assets (API data), we need to add something in `dataGroups' array.
dataGroups: array
In our case, we have one object in that array. Because we have one API call.
{
      "name": "posts",
      "urls": [                           //The api call as `urls`
        "https://jsonplaceholder.typicode.com/posts"
      ],
      "cacheConfig": {   //how our data want be cached
        "maxSize": 5,       // how many responses we want to cache
        "maxAge": "6h",   // how much old should the data in cache be before fetching new data
        "timeout": "10s",  // if I waited for the response for 10 seconds after that it will load from cache
        "strategy": "freshness" // always reach to backed for data and use cache if we are offline.
                                               // “performance” – performance tries to get something on to the screen
                                               //from cache directly it user
                                               // maxAge into account, after how many hours it will go to backend and
                                               //update the cache, where as freshness uses timeout to wait these any
                                               //seconds before pulling information from cache.
      }
    }
name
Similar to assetGroups, every data group has a name which uniquely identifies it.
urls
A list of URL patterns. URLs that match these patterns are cached according to this data group's policy.
cacheConfig
This section defines the policy by which matching requests will be cached.
**maxSize**:
(required) The maximum number of entries, or responses, in the cache. Open-ended caches can grow in unbounded ways and eventually exceed storage quotas, calling for eviction.
**maxAge**:
(required) The maxAge parameter indicates how long responses are allowed to remain in the cache before being considered invalid and evicted. maxAge is a duration string, using the following unit suffixes:
d: days h: hours m: minutes s: seconds u: milliseconds
For example, the string 3d12h will cache content for up to three and a half days.
**timeout**:
This duration string specifies the network timeout. The network timeout is how long the Angular service worker will wait for the network to respond before using a cached response, if configured to do so. timeout is a duration string, using the following unit suffixes:
d: days h: hours m: minutes s: seconds u: milliseconds
For example, the string 5s30u will translate to five seconds and 30 milliseconds of network timeout.
**strategy**
The Angular service worker can use either of two caching strategies for data resources.
performance, the default, optimizes for responses that are as fast as possible. If a resource exists in the cache, the cached version is used, and no network request is made. This allows for some staleness, depending on the maxAge, in exchange for better performance. This is suitable for resources that don't change often; for example, user avatar images.
freshness optimizes for currency of data, preferentially fetching requested data from the network. Only if the network times out, according to timeout, does the request fall back to the cache. This is useful for resources that change frequently; for example, account balances.
So, that's it. Yes you heard it right! This is all what we need to do.
Let us run the application now (we need to http-serve it) and see if our application acts as a PWA or not.
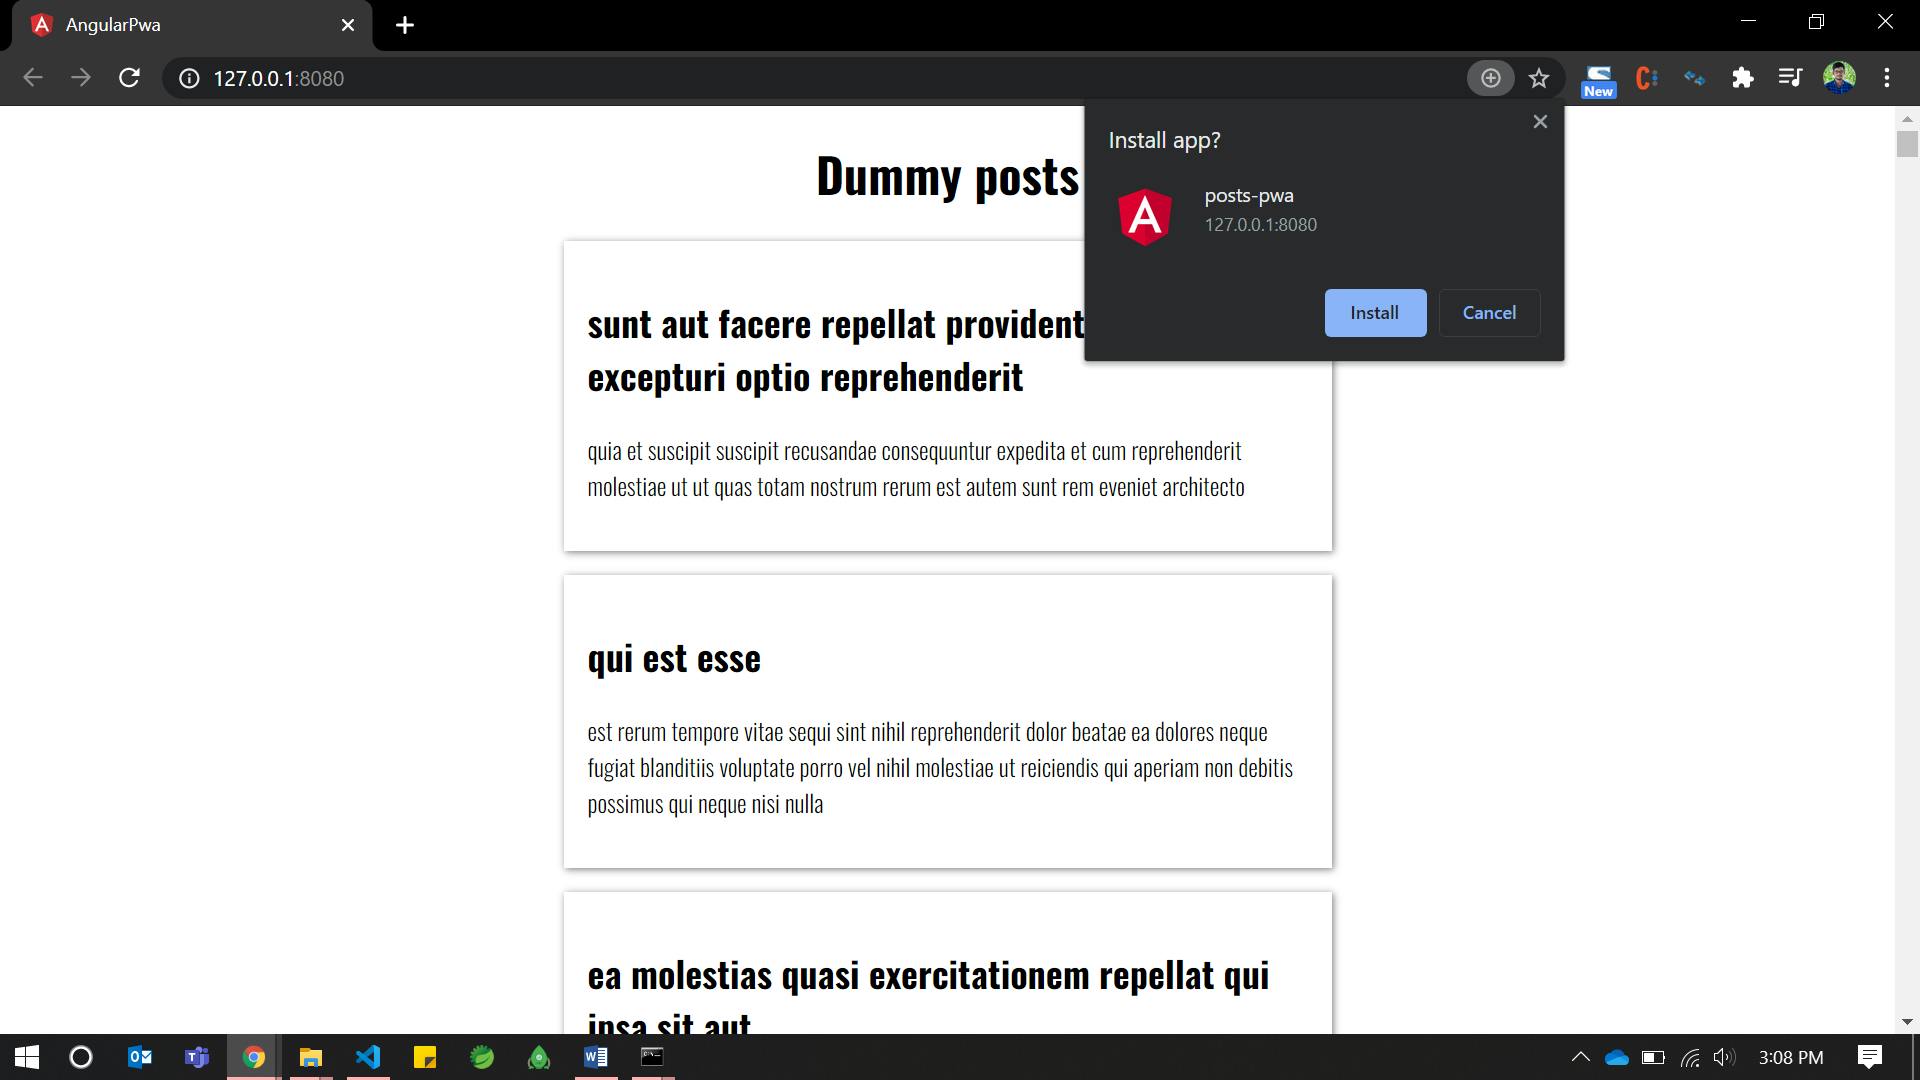
Installable
The very first property of a PWA application, is that we can able to install it.

As you can see in the above image, it is installable.
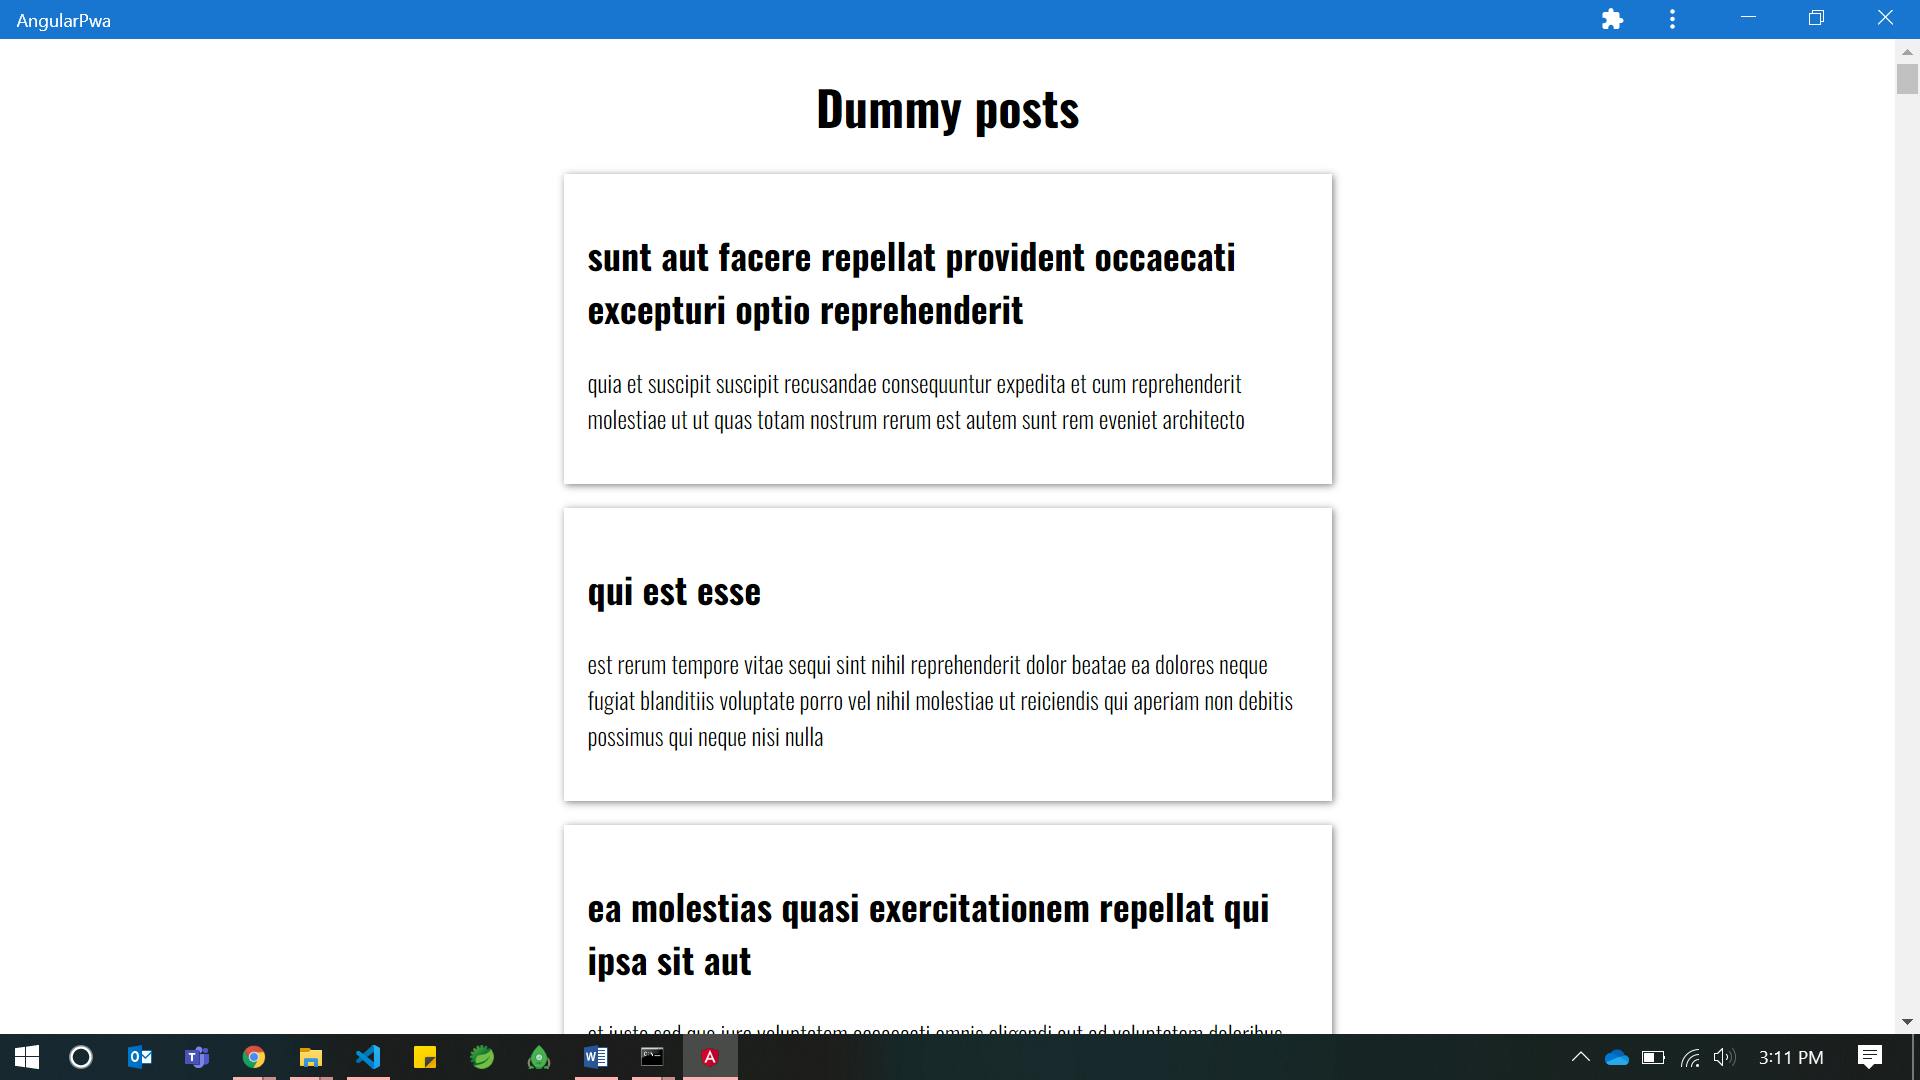
After installing the application will be added to home screen as a standalone app.

If we open it, it will open as a standalone application in a separate container.
Works Offline
We know that PWA will work offline.
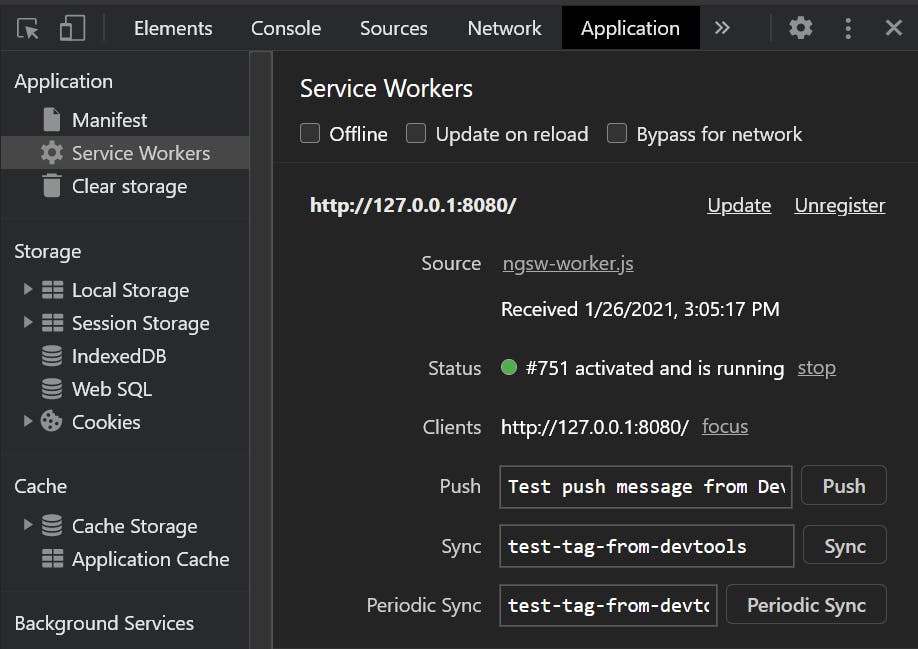
In the above image, you can see that our service worker is installed. Lets make our application Offline to check if we are getting the data.
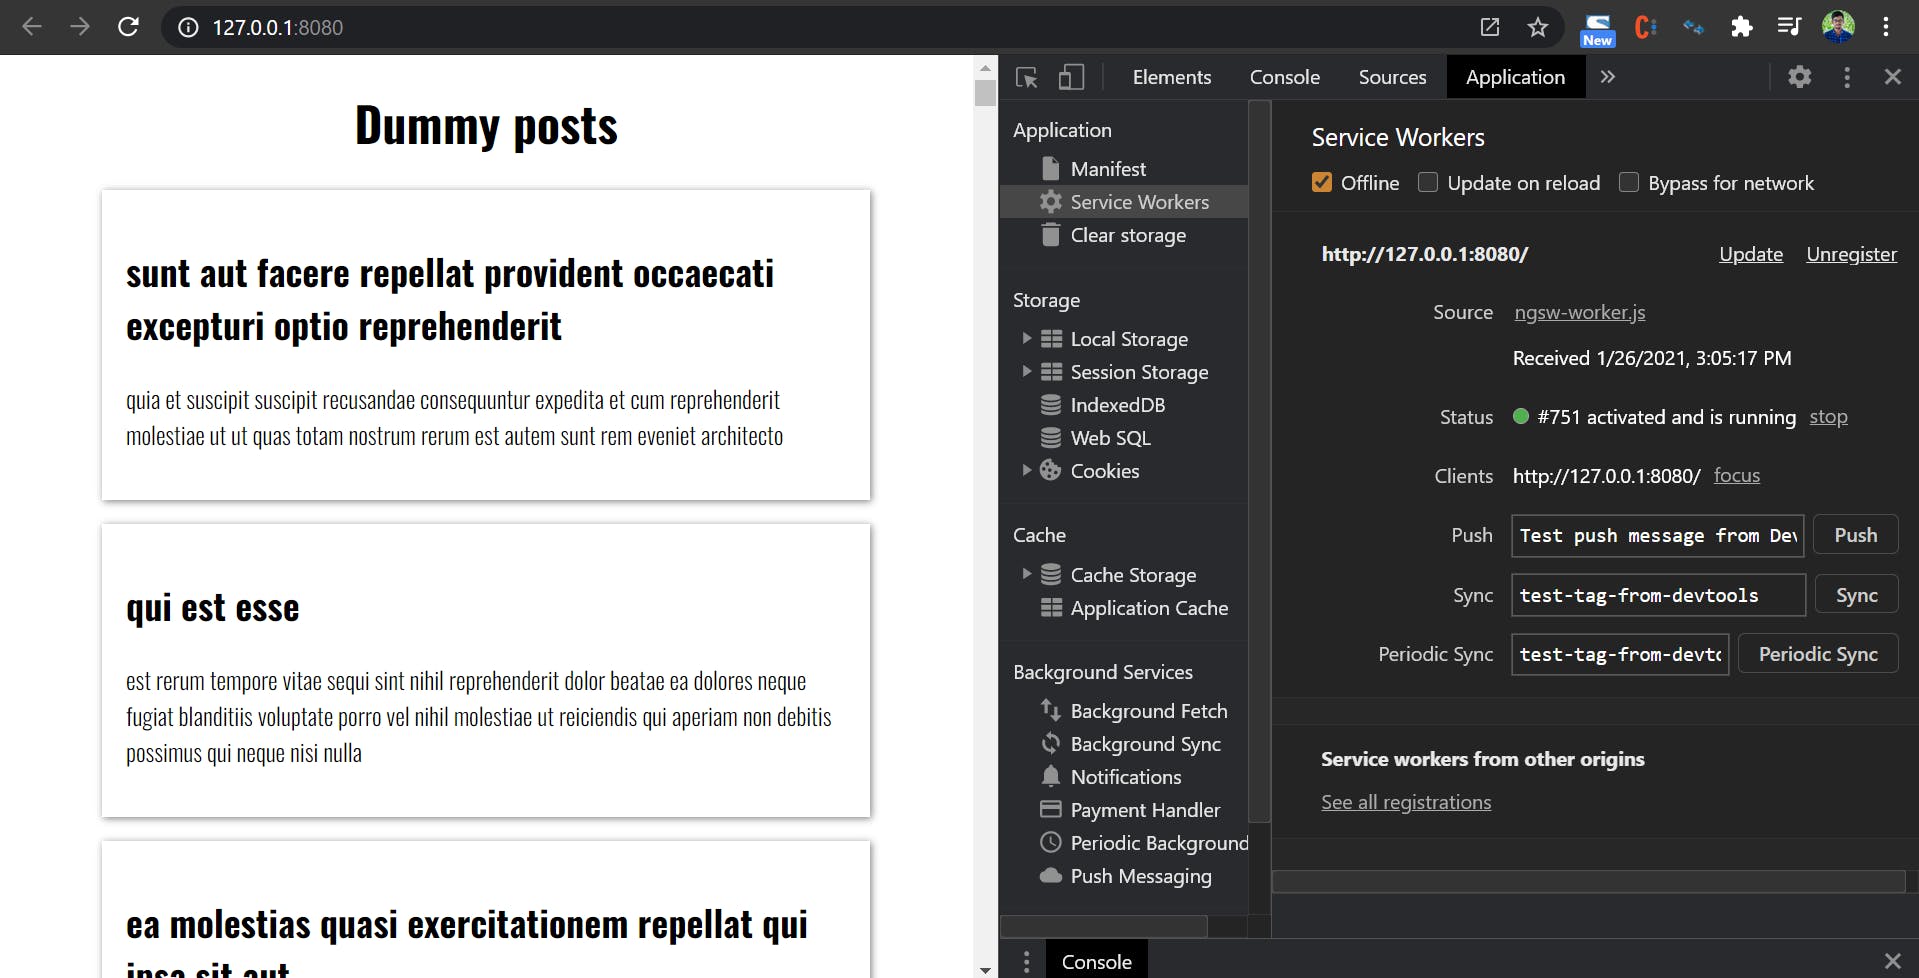
If you observe the above image, we are getting data even we are offline. Remember previously when we tried to make the application offline, it got crashed. So, congratulations, we have created a Progressive Web App.
We will also try to run Google Lighthouse report.
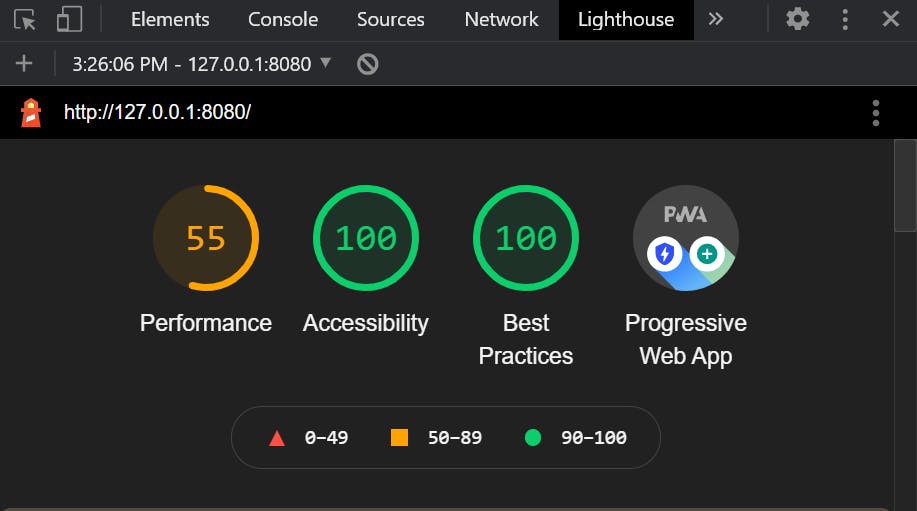
As you can see, there is considerable amount of improvement in our application metrics.
So, you have successfully created Progressive Web App from scratch in Angular. Keep in mind that, even if your application is not Angular, the concepts that we have followed stays similar.
Hopefully, you have learned something new today, so do I. If you didn't read the first part of this tutorial, you can find it here .
If you like this article, please share your thoughts in comments below. And also please share it to your friends.